The first mechanical keyboard I bought was the Das Keyboard 4 Ultimate. I made the leap from regular rubber dome keyboards during my first summer in college after trying out some of my friends’ keyboards and decided I liked the Das 4. I highly recommend that keyboard!
Surfing the web for even more niche keyboards, I saw keyboards which had two parts, one for each hand. Probably the most popular of these options is the Advantage Kinesis 2, and the Keyboardio Model 01 is another one. The prices for the keyboards in this category seem to be >$300, which made be wonder how much the production cost could really be.
Keyboard basics
The basic unit of the keyboard is the switch. There are two main types, the rubber dome and the mechanical switch. The rubber domes are the usual kind one finds in office supplied keyboards. Mechanical keyboards are the ones one would usually find in a gaming competition, a PC bang, or the desks of a team that I once interned at where I convinced my mentor to get mechanical keyboards for the entire team.
Because there are so many switches on a keyboard (usually >100), and a limited number of pins on a microcontroller (usually <100), it is more economical to try to arrange the switches in a grid.

Because there are usually more rows than columns on a keyboard (~6 rows and ~20 columns), the rows are set to sink current one at a time and the columns are read in parallel. The columns are set to pull-up, and if the column is low, then the key at the corresponding row and column is pressed. This is repeated for all keys.
One issue with using matrices is the ghosting problem. Ghosting is when keys show up as being pressed even though they were not, due to the physics of the matrix.
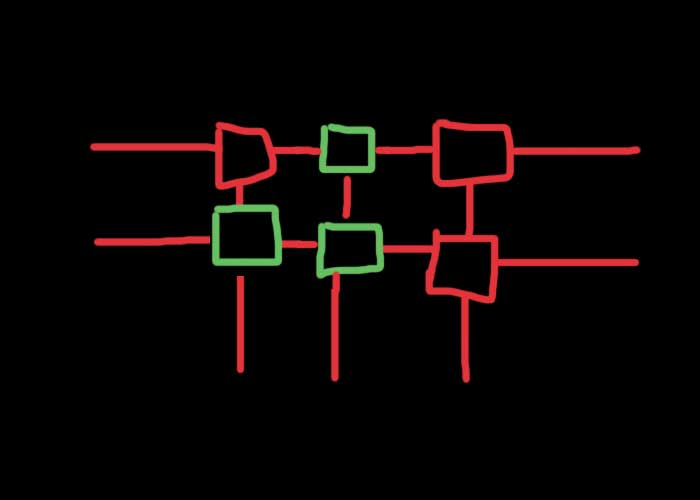
The green keys here are depressed. Say we scan the first row, and the columns are being read.
So the first row was scanned, current is running through the second column, so it looks like the switch in the first row second column was pressed, which is what is expected! But here’s what else could happen.
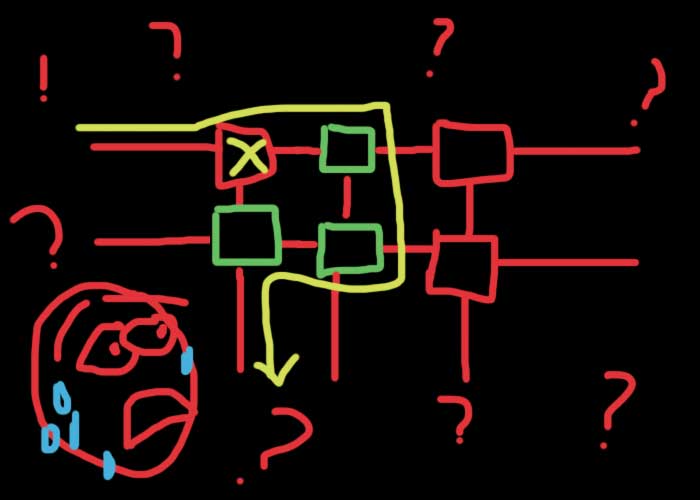
Current can also flow backwards through the row to get to the first column, so it looks like the key in the first row and first column is being pressed! This is the root of the ghosting problem. Current flows backwards through a path where it shouldn’t be able to.
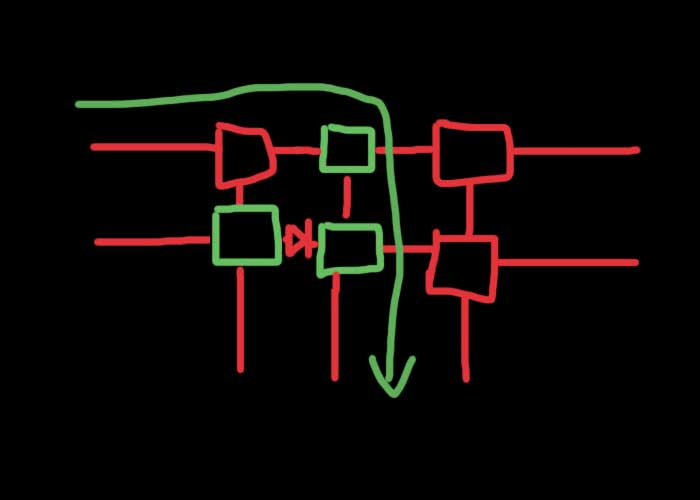
The ultimate fix is to have a diode with every switch to prevent any backwards current.
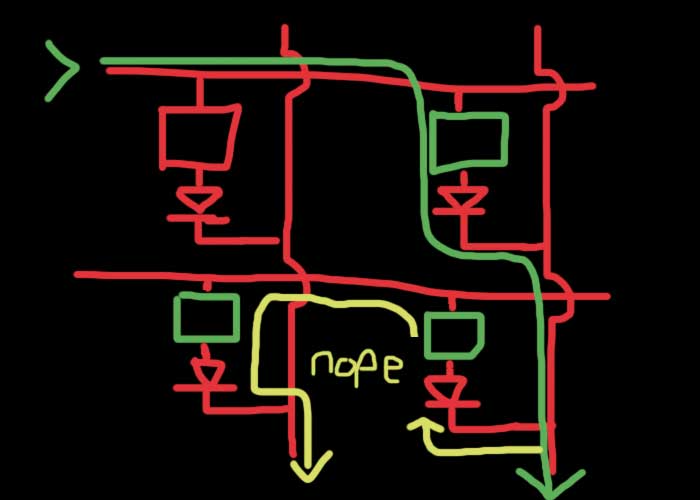
And now things are working as intended. With this in mind, I set on designing my own keyboard.
Designing the board
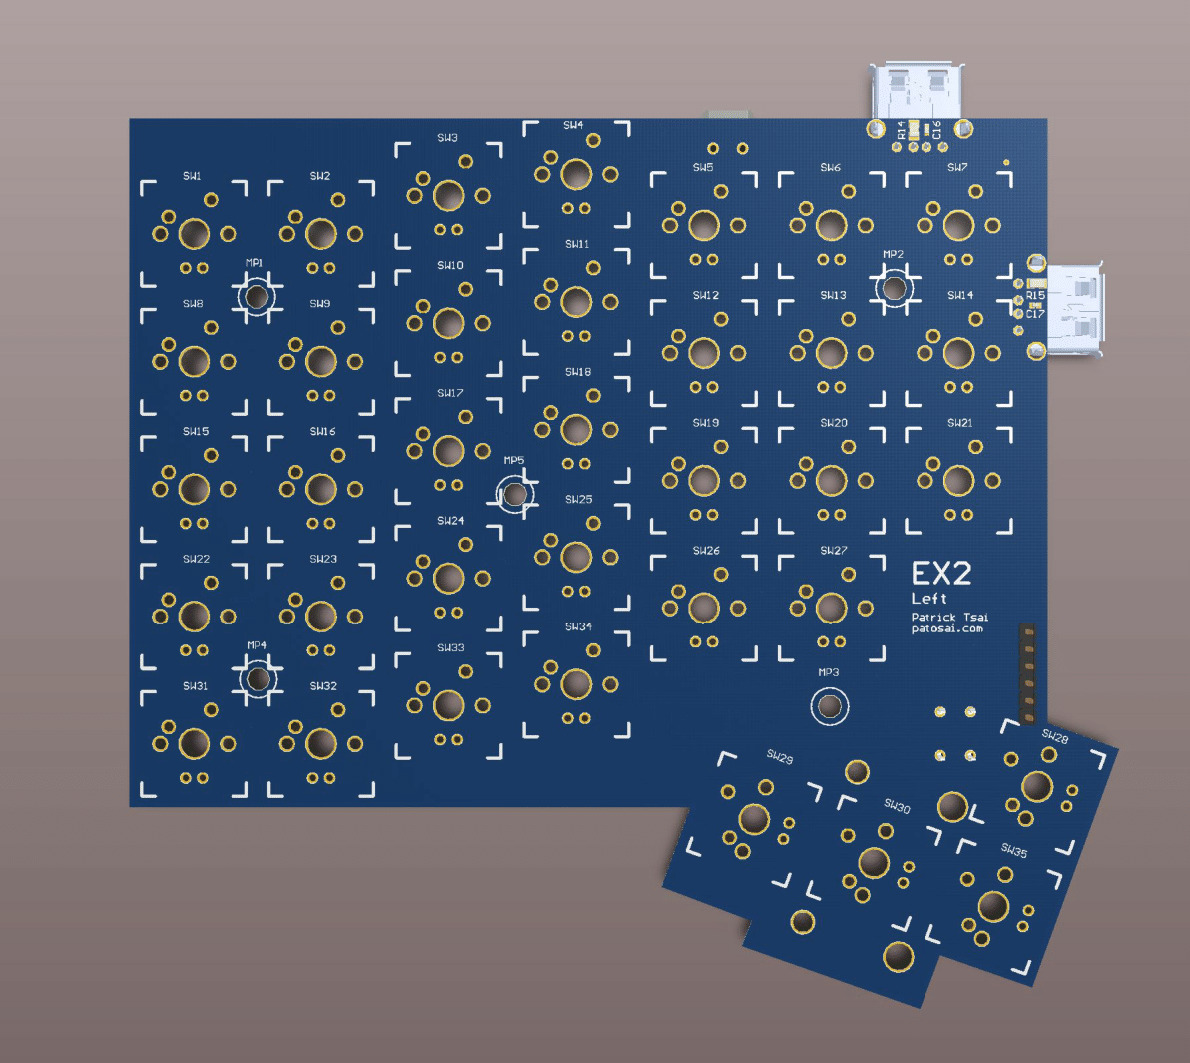
I used Altium Designer to design both halves of my split keyboard. The two halves would be mirrors of each other, with the left side also having a USB hub. I used the ATMega32u4 microcontroller, which has built-in USB support.
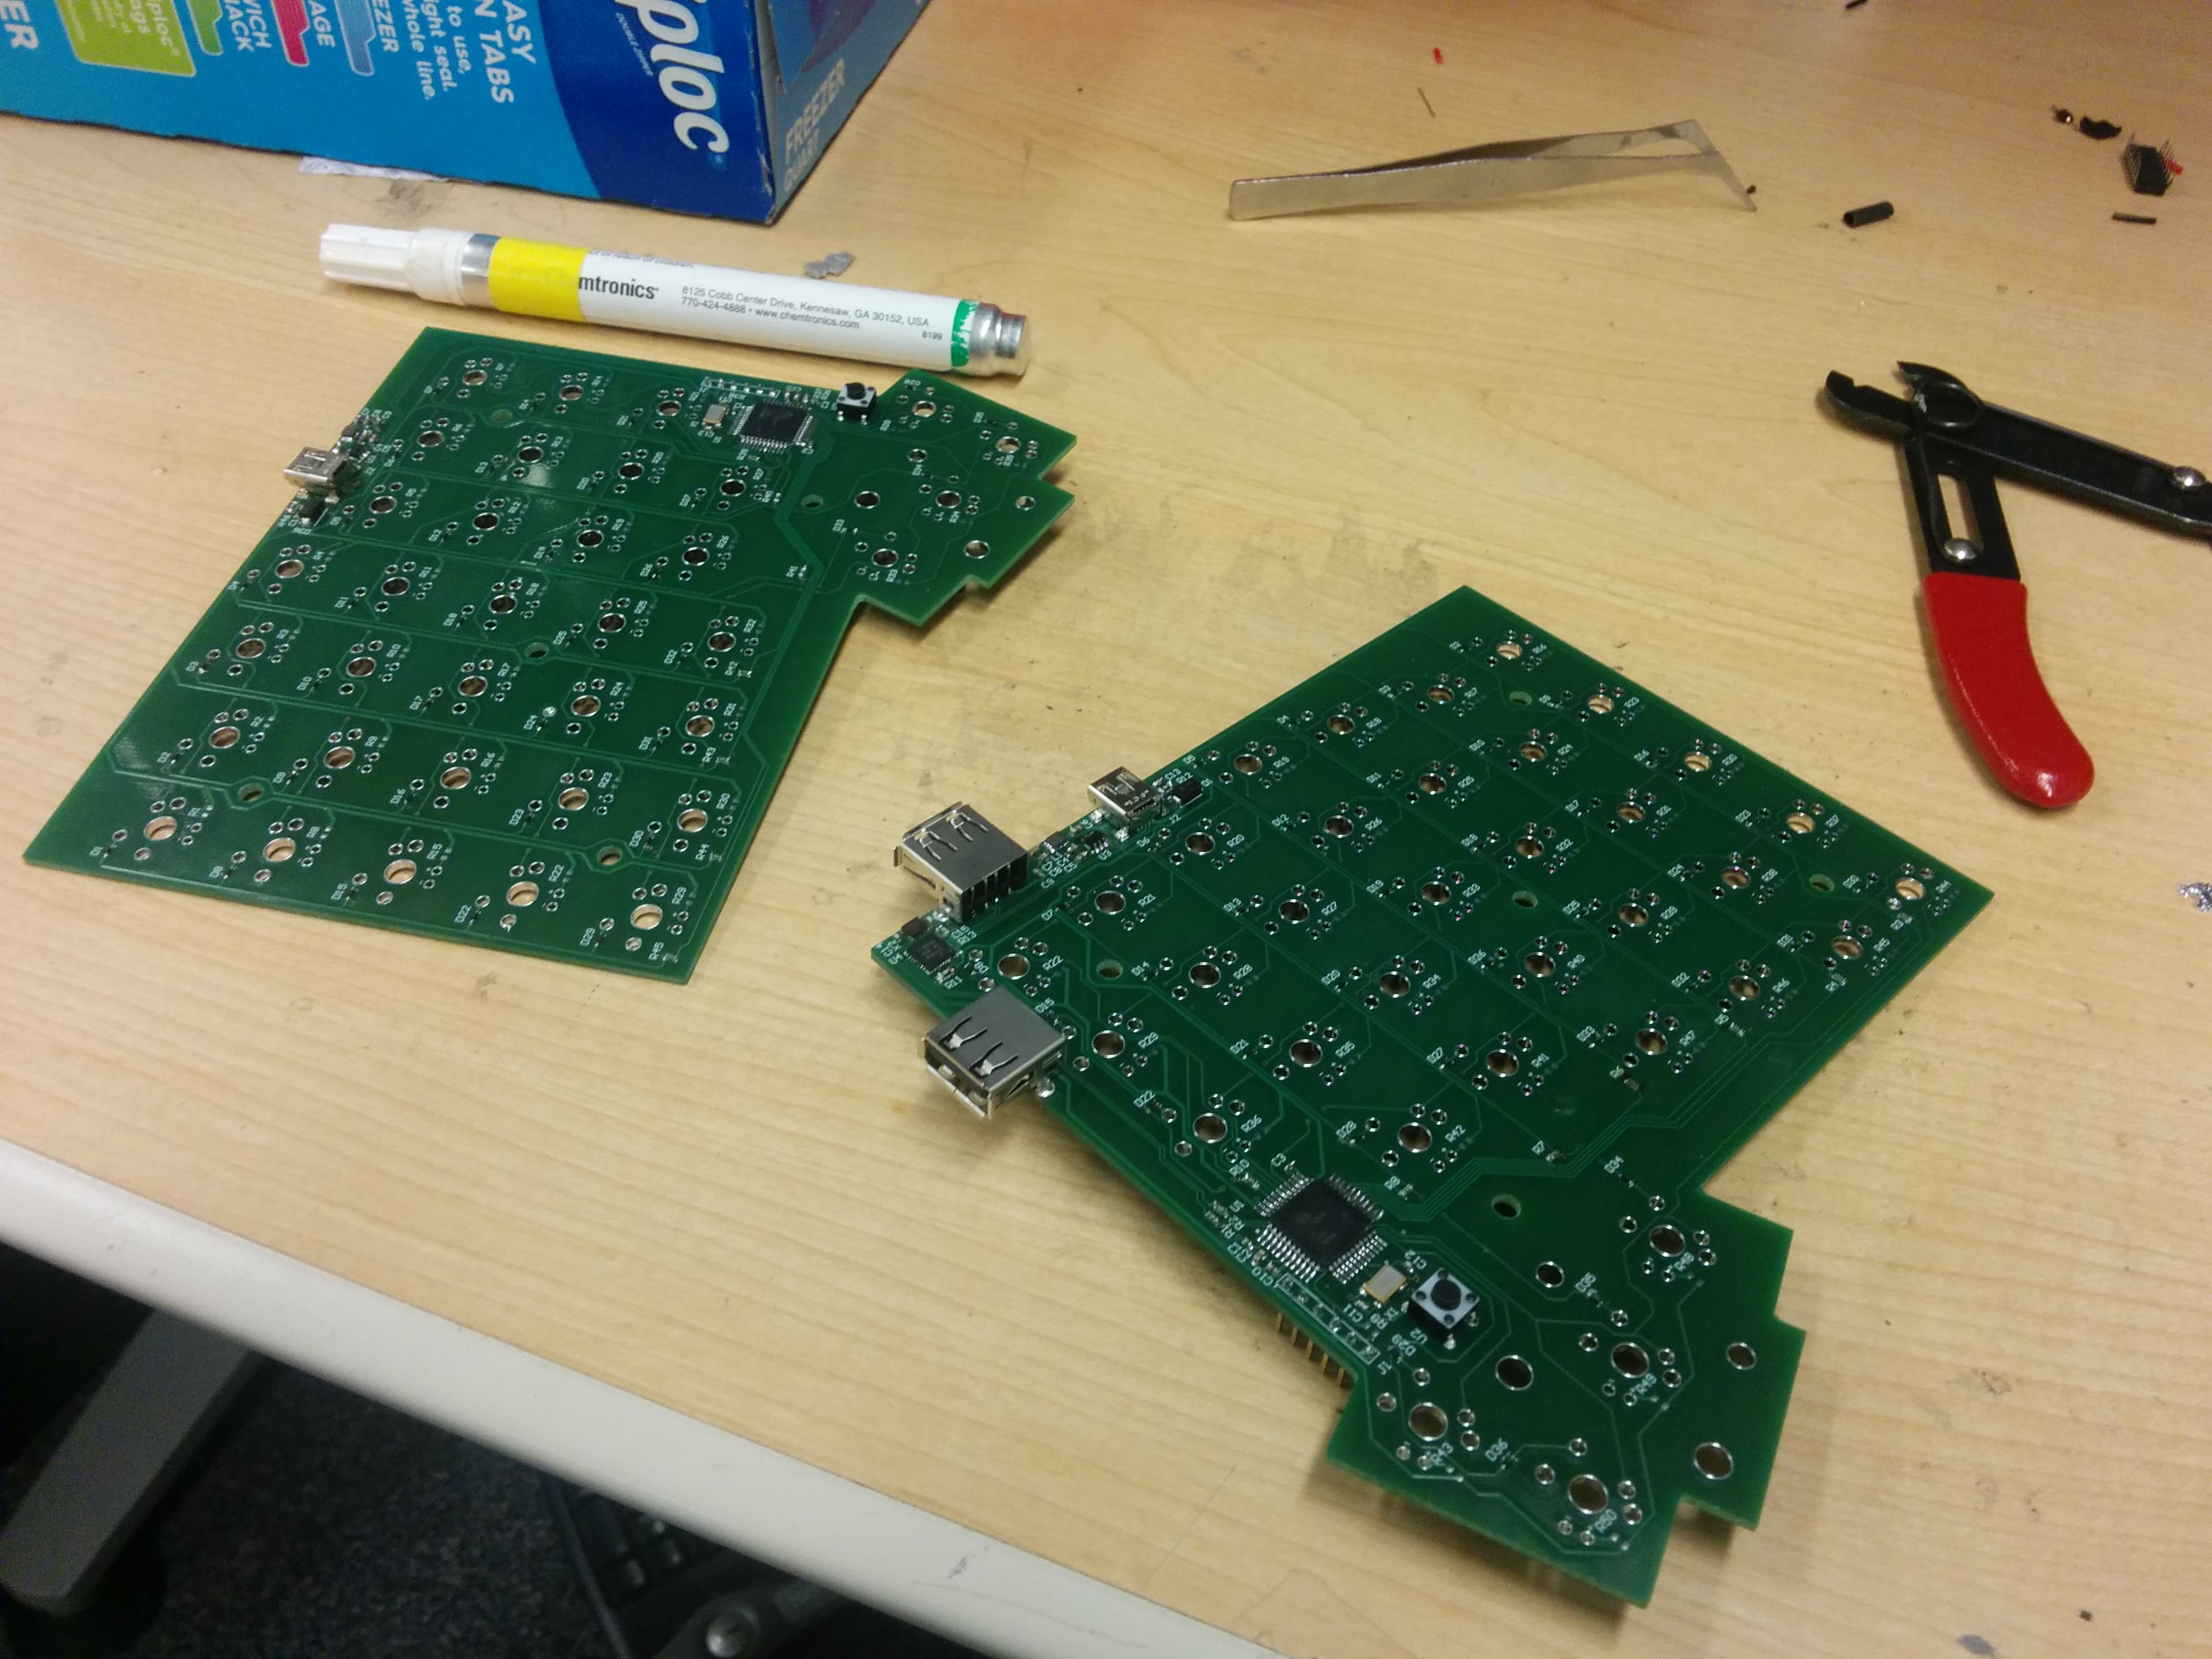
Here is an image of the left side.
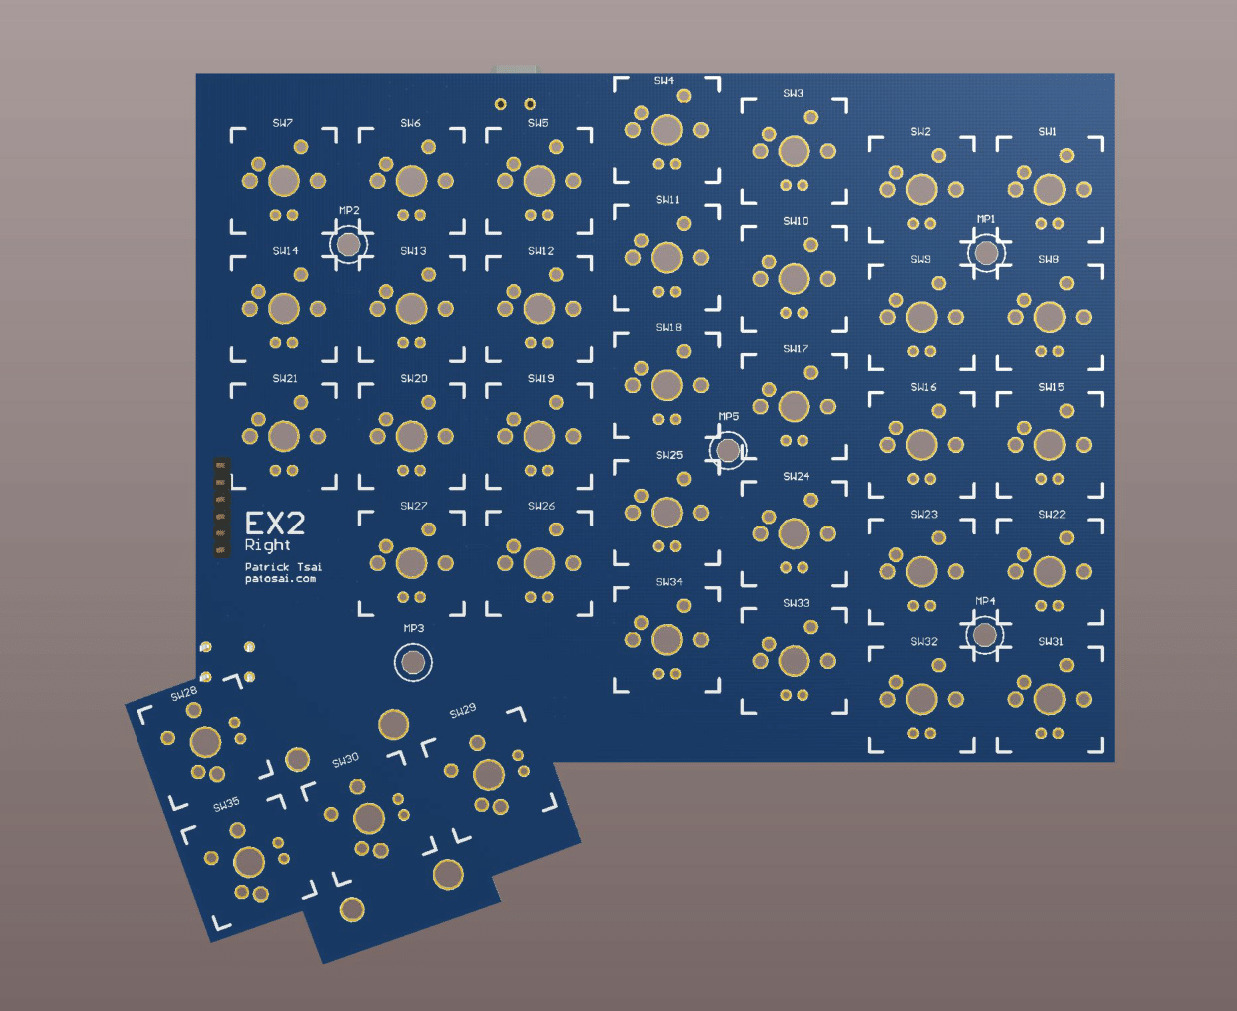
And an image of the right side.
Of course, one does not simply type on a bare PCB. I needed to design a case. After a few hours in front of Solidworks, I ended up with this.
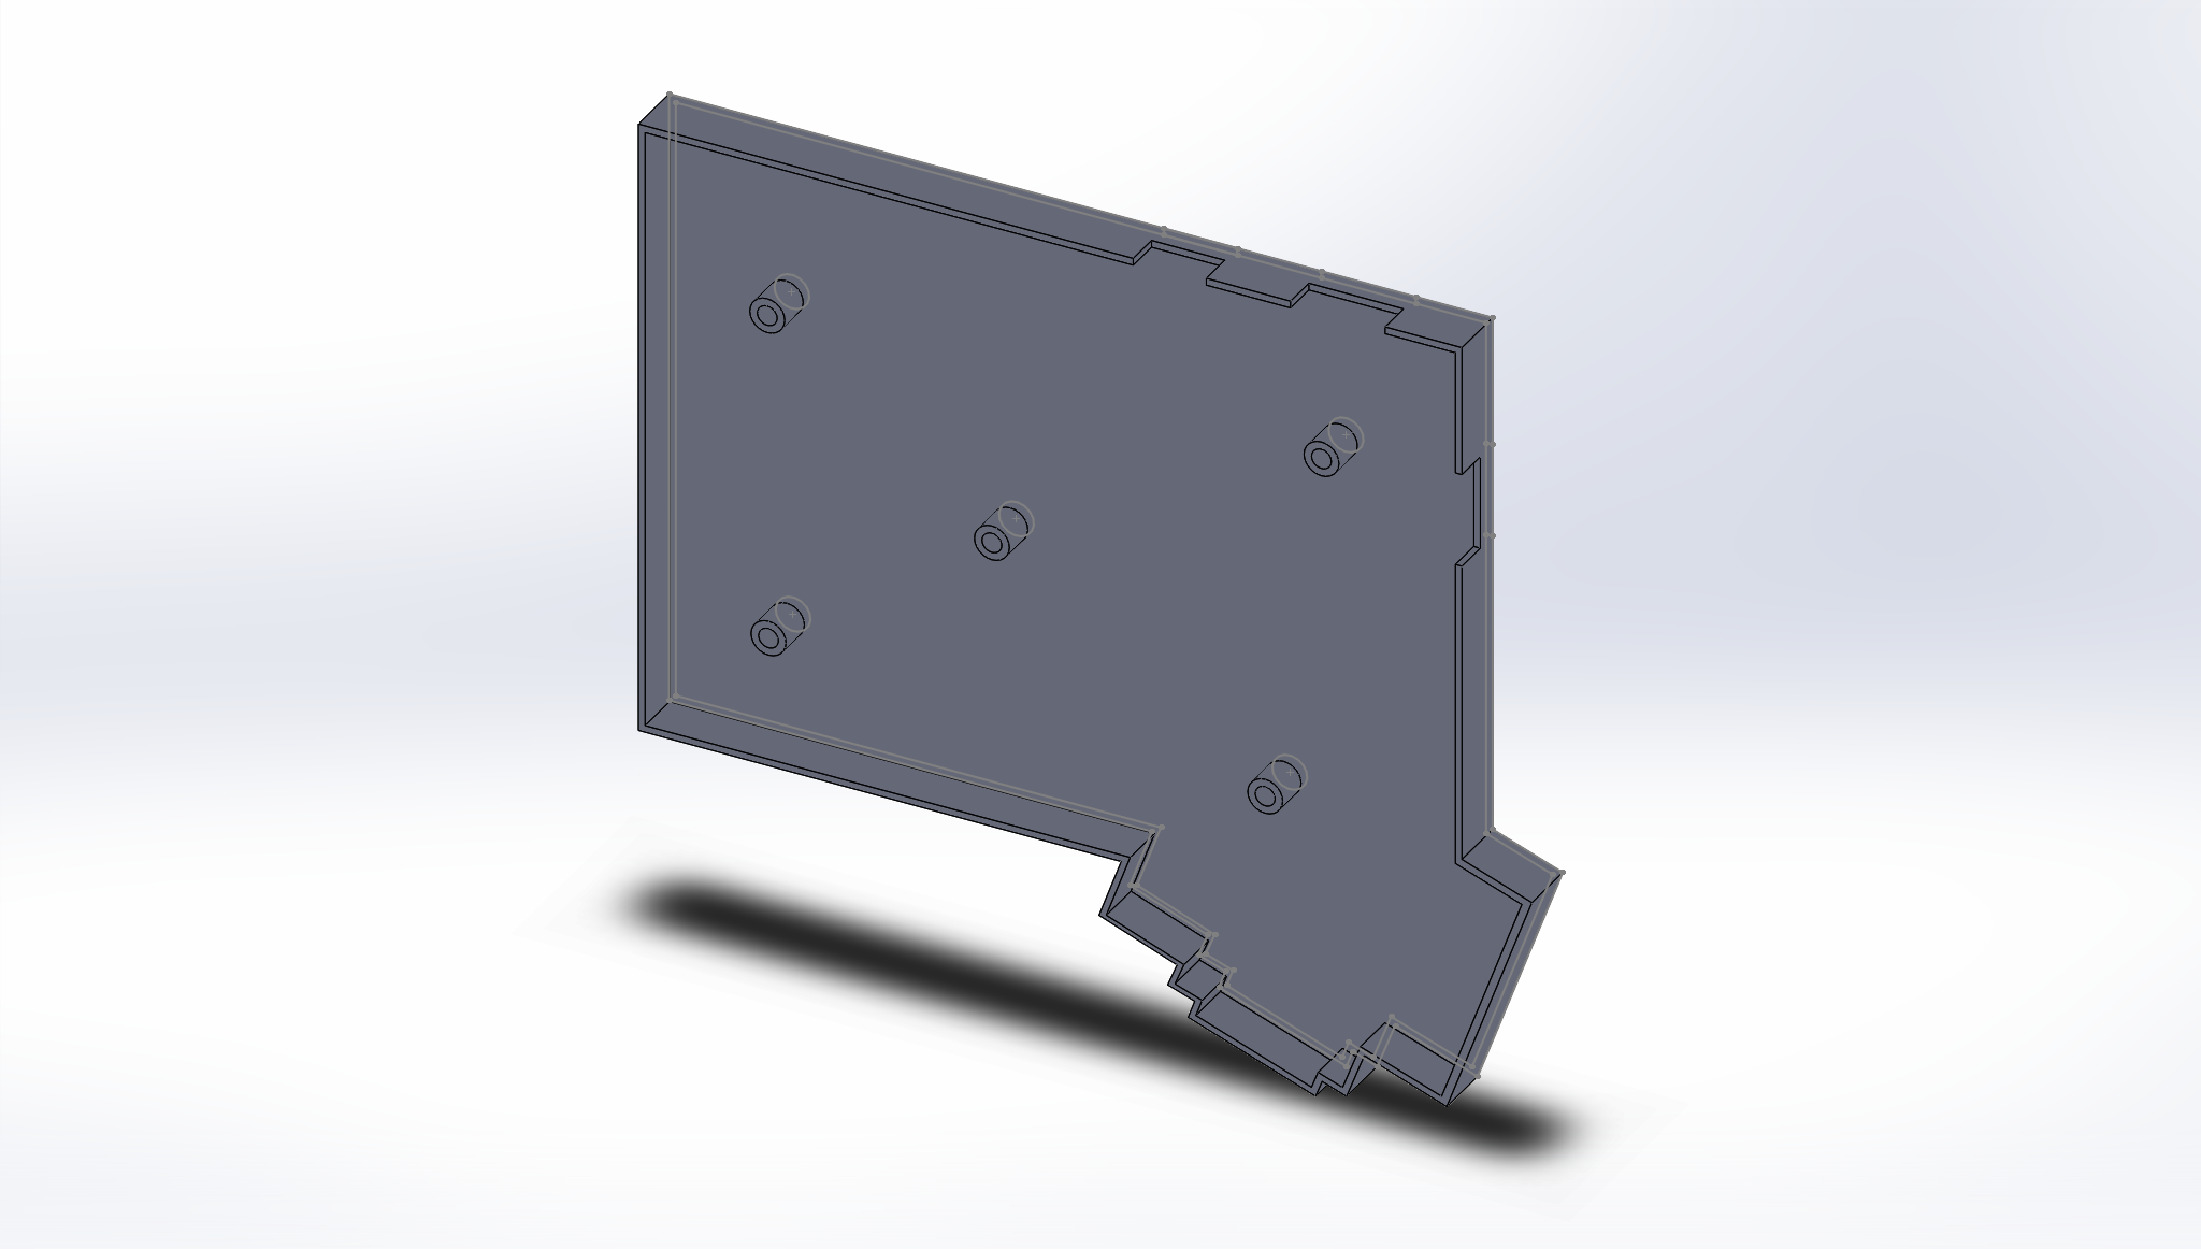
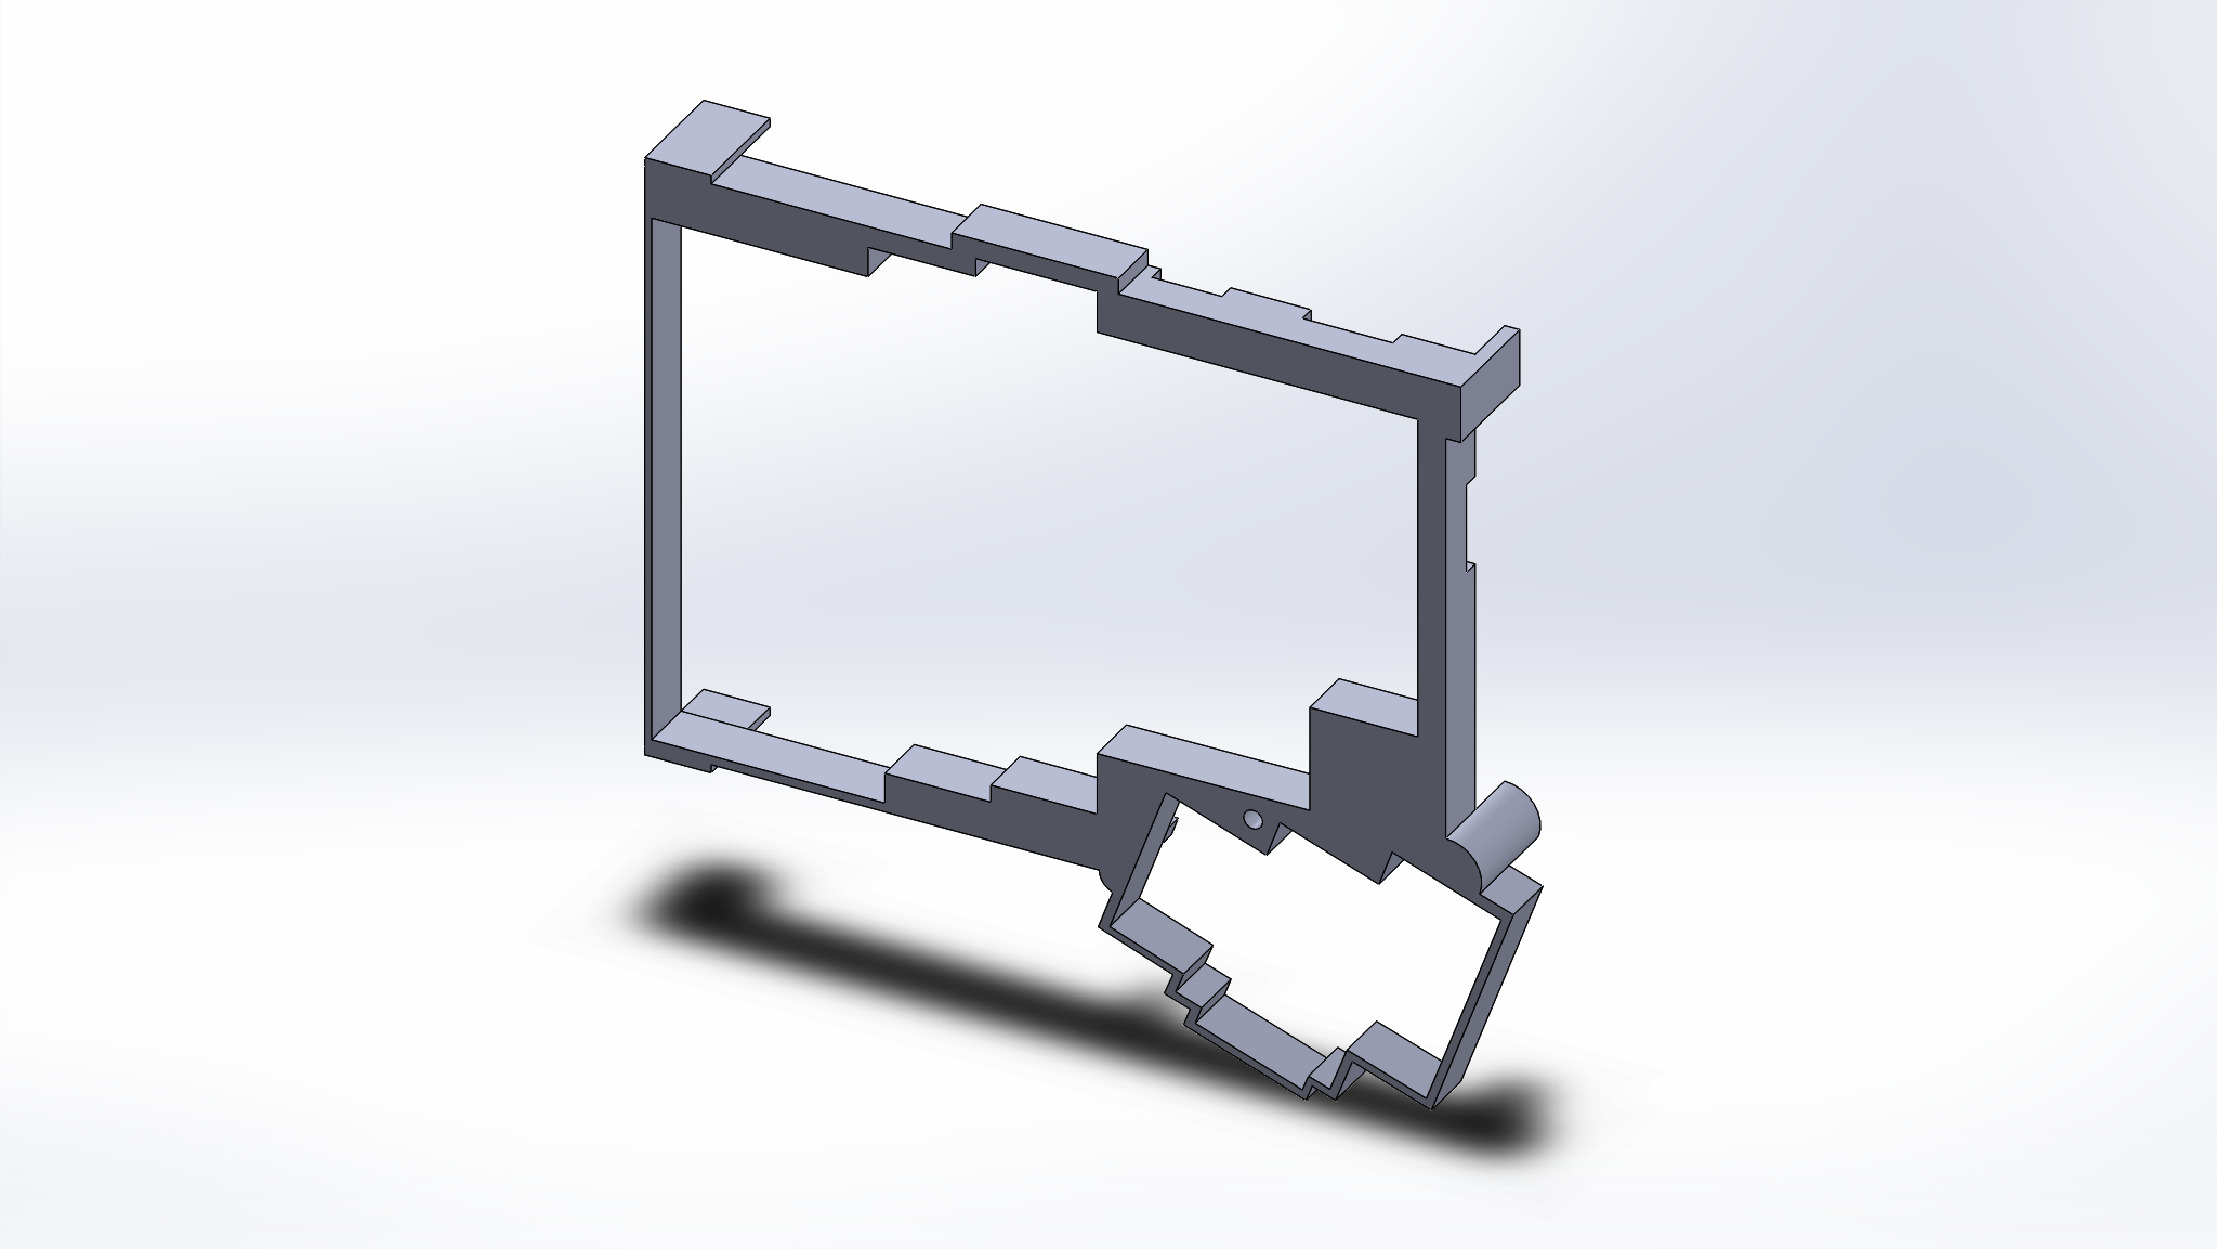
The two halves would sandwich the PCB in the middle, with the switches and keycaps popping through the holes in the top half.
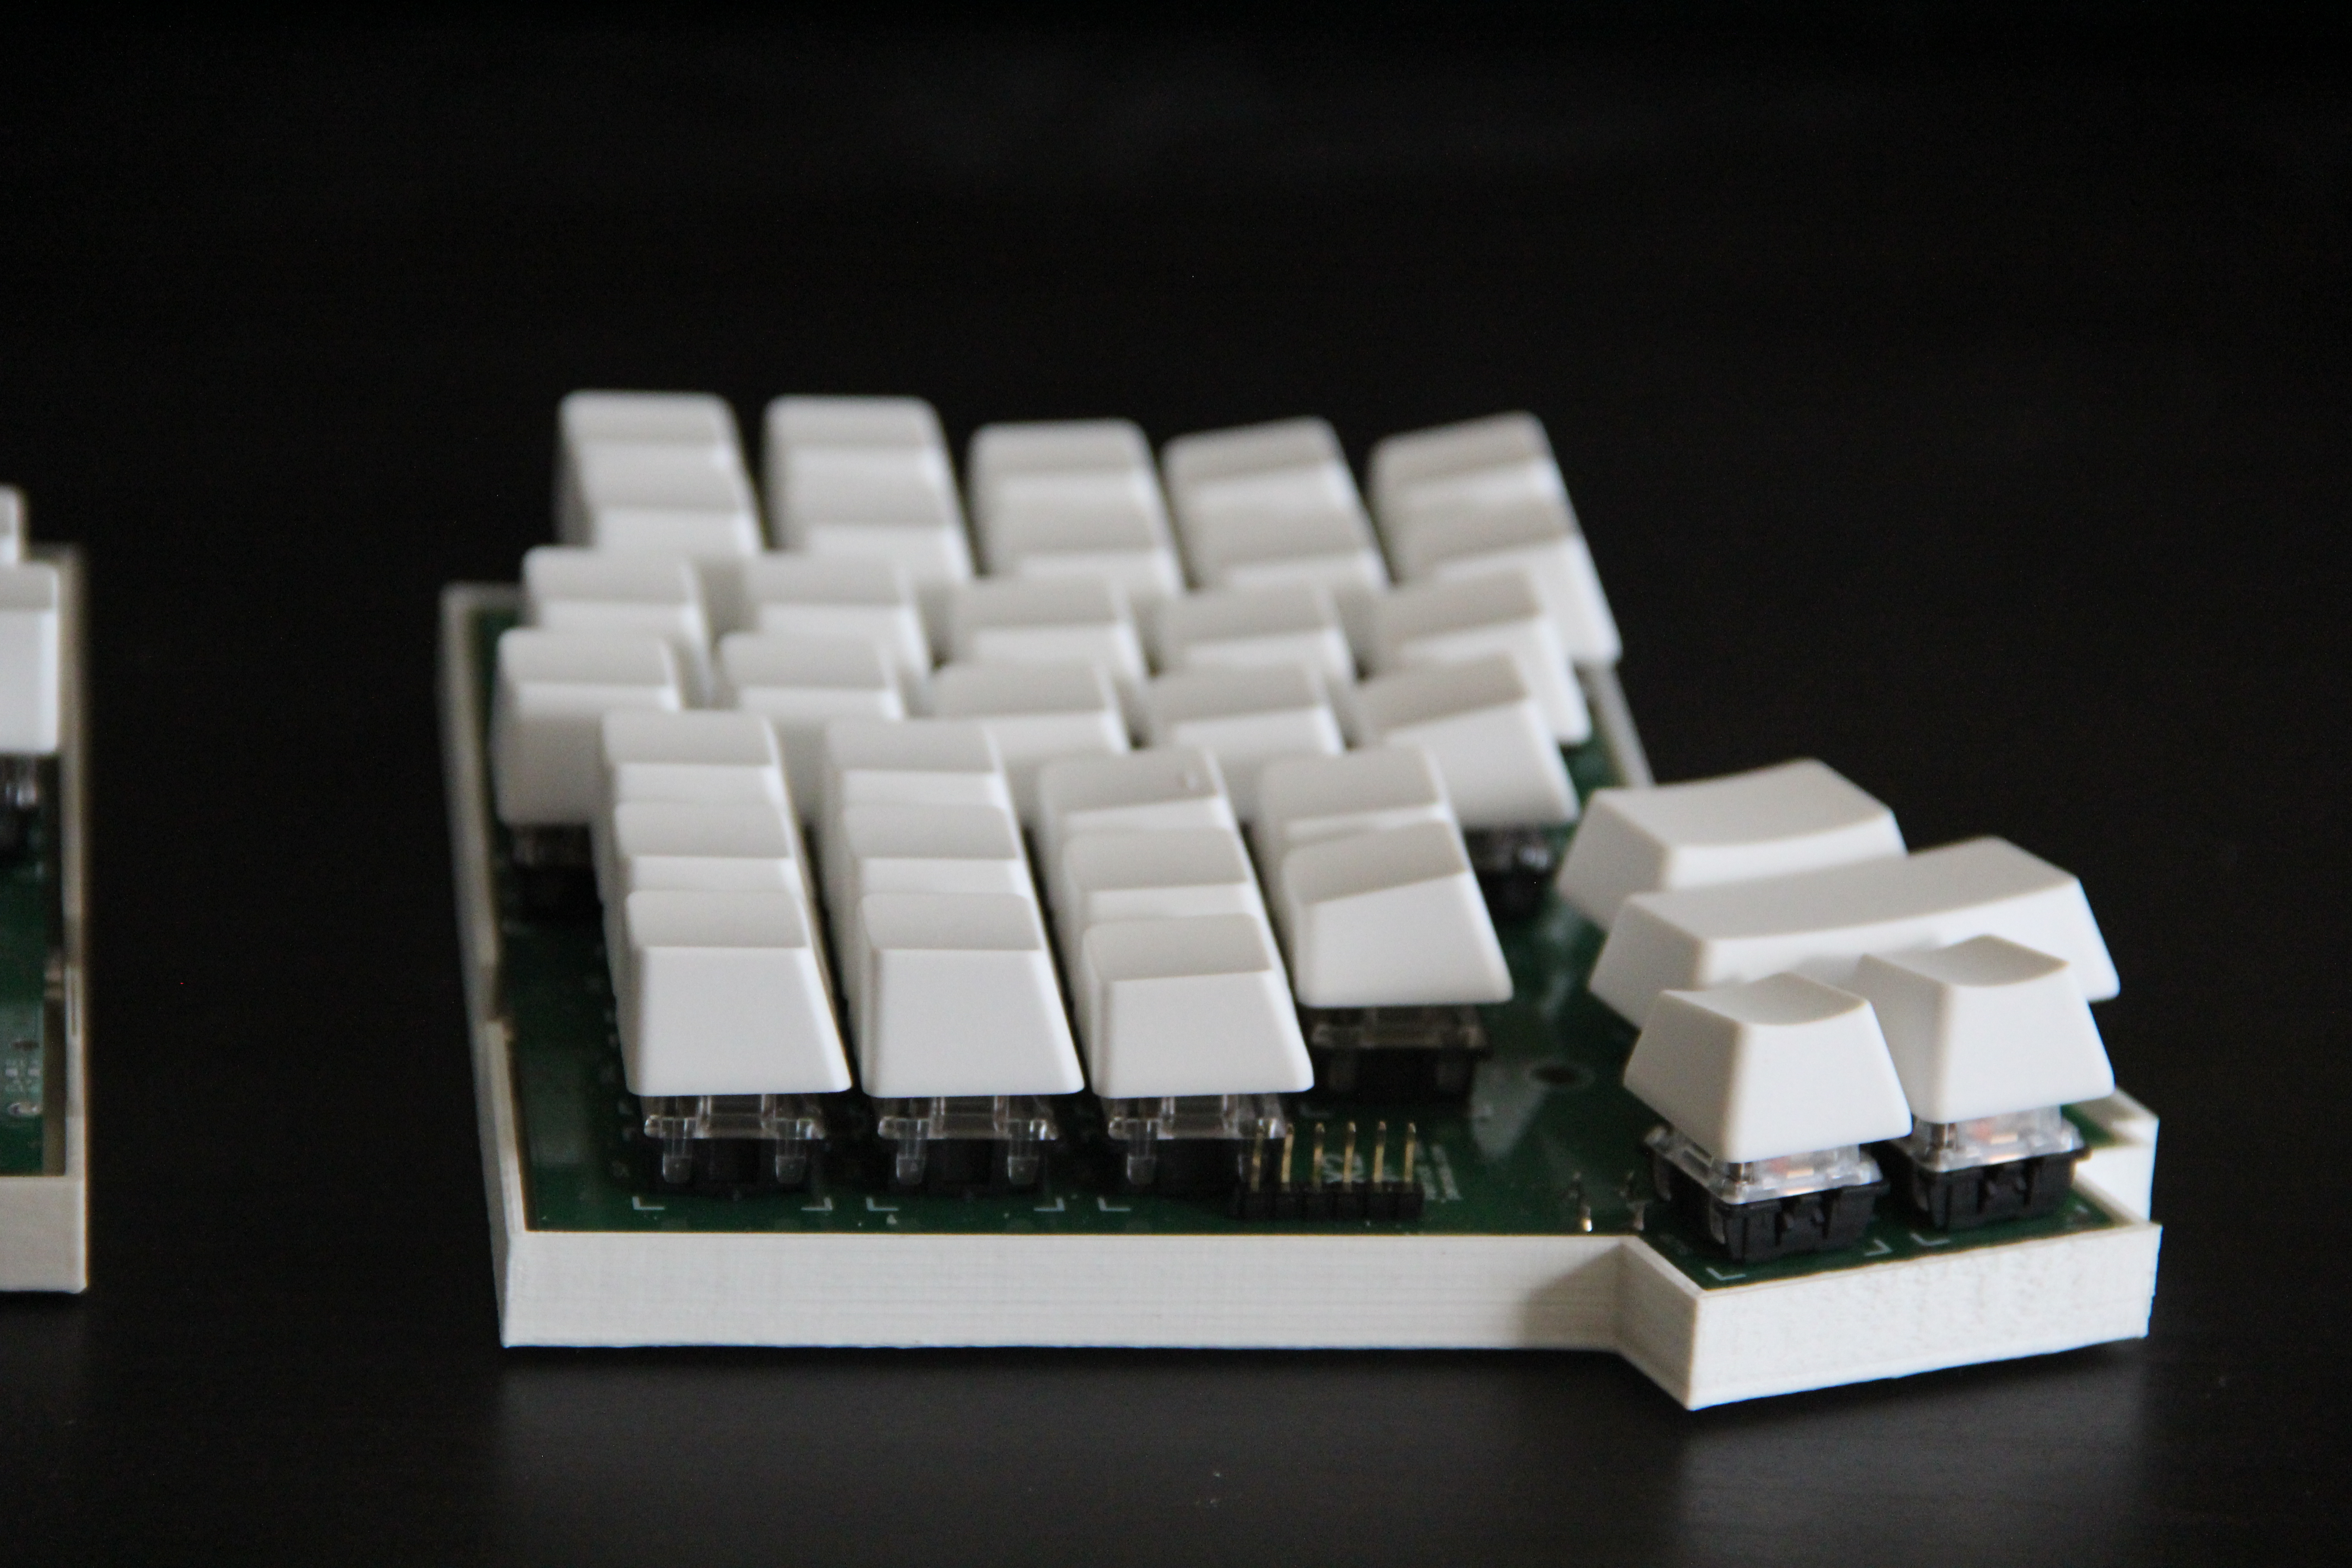
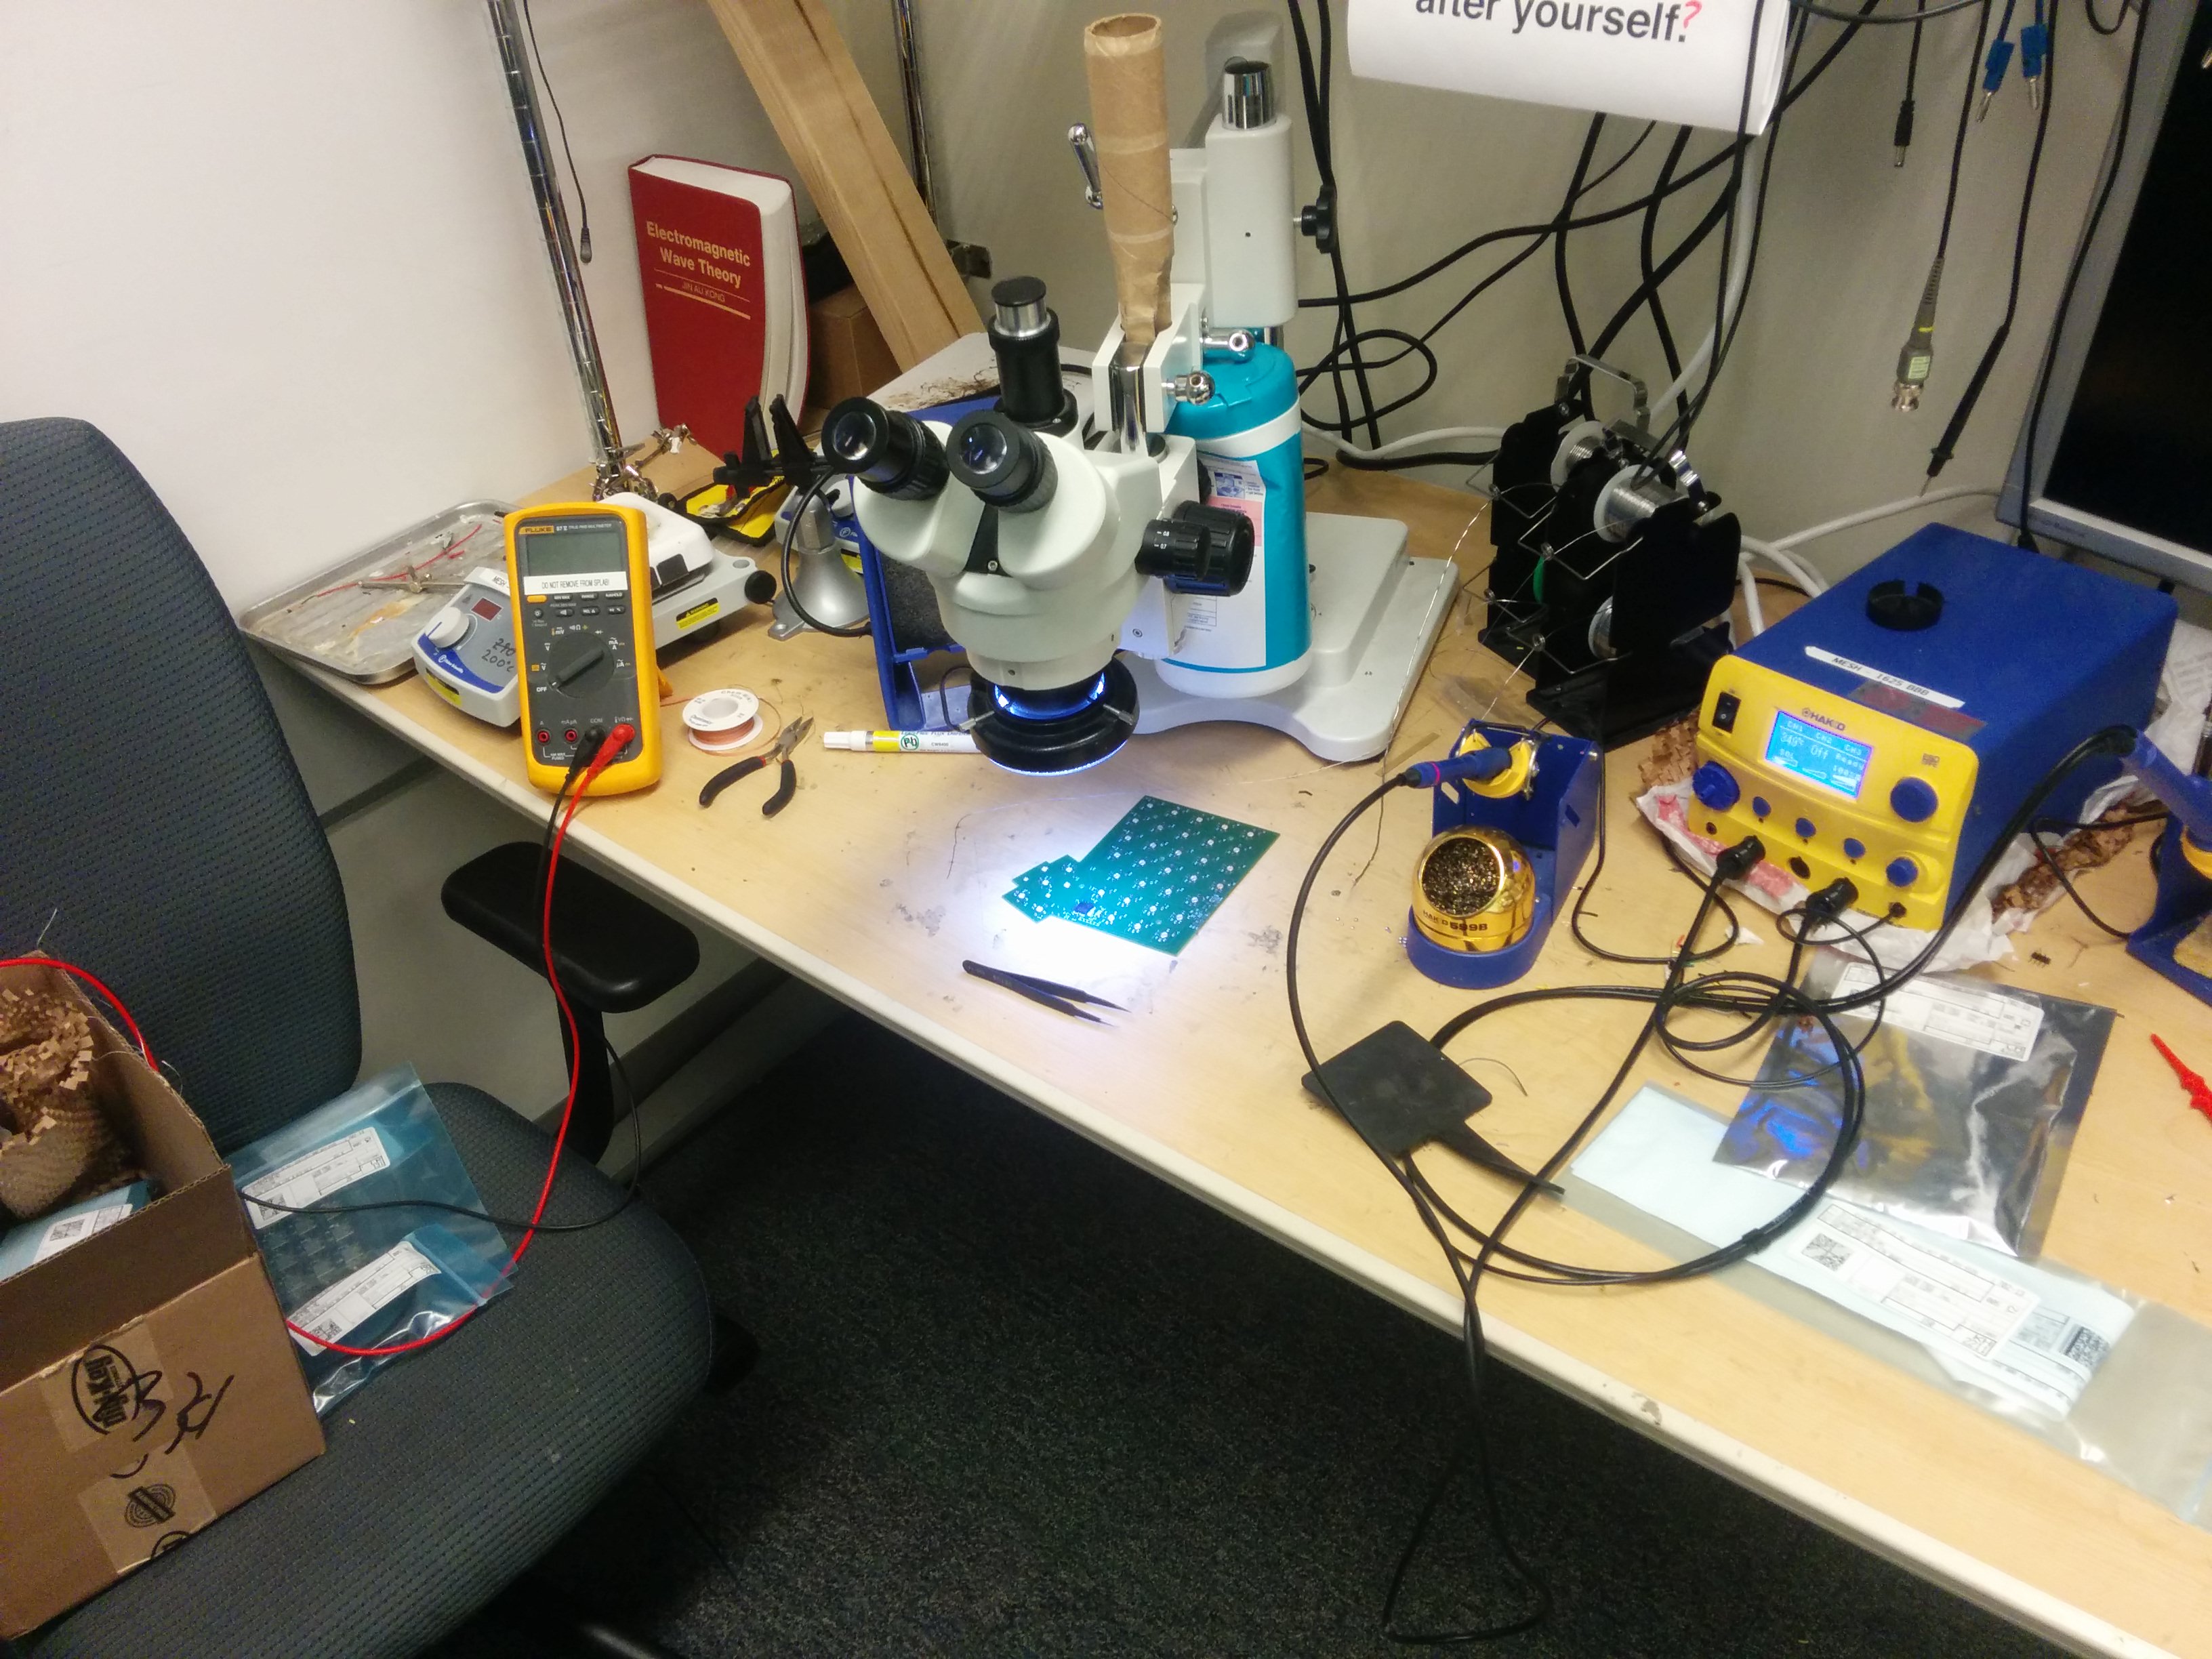
Making it a reality
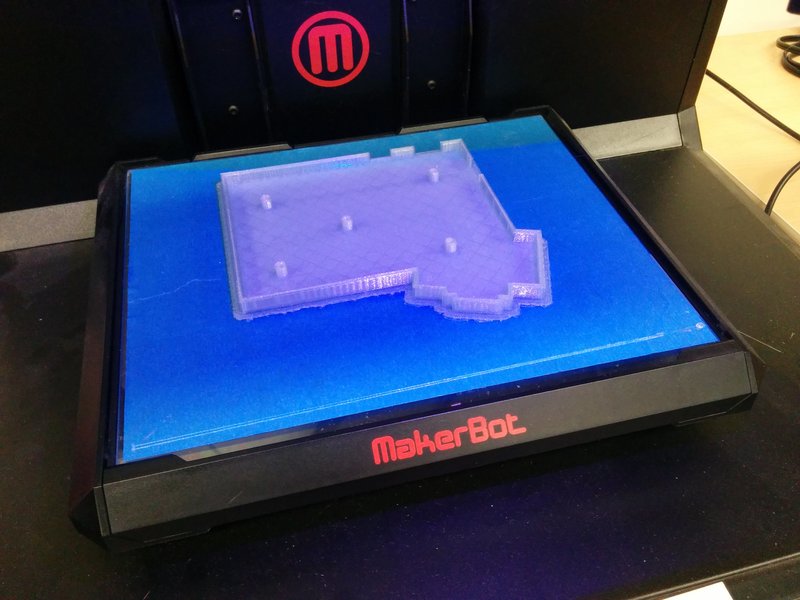
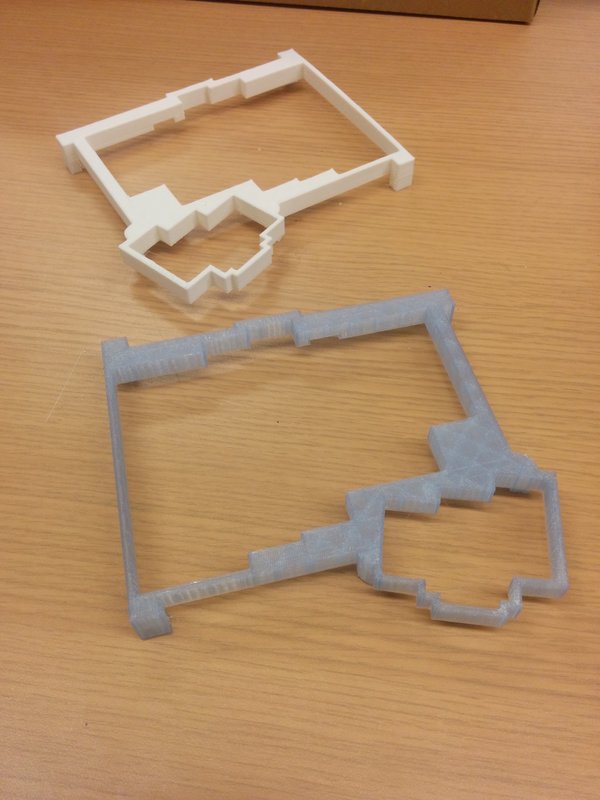
My university had a lab with Makerbot 3D printers which I was able to use, so I printed out the cases on those.
After the PCBs and components arrived, it was time to solder the prototypes.
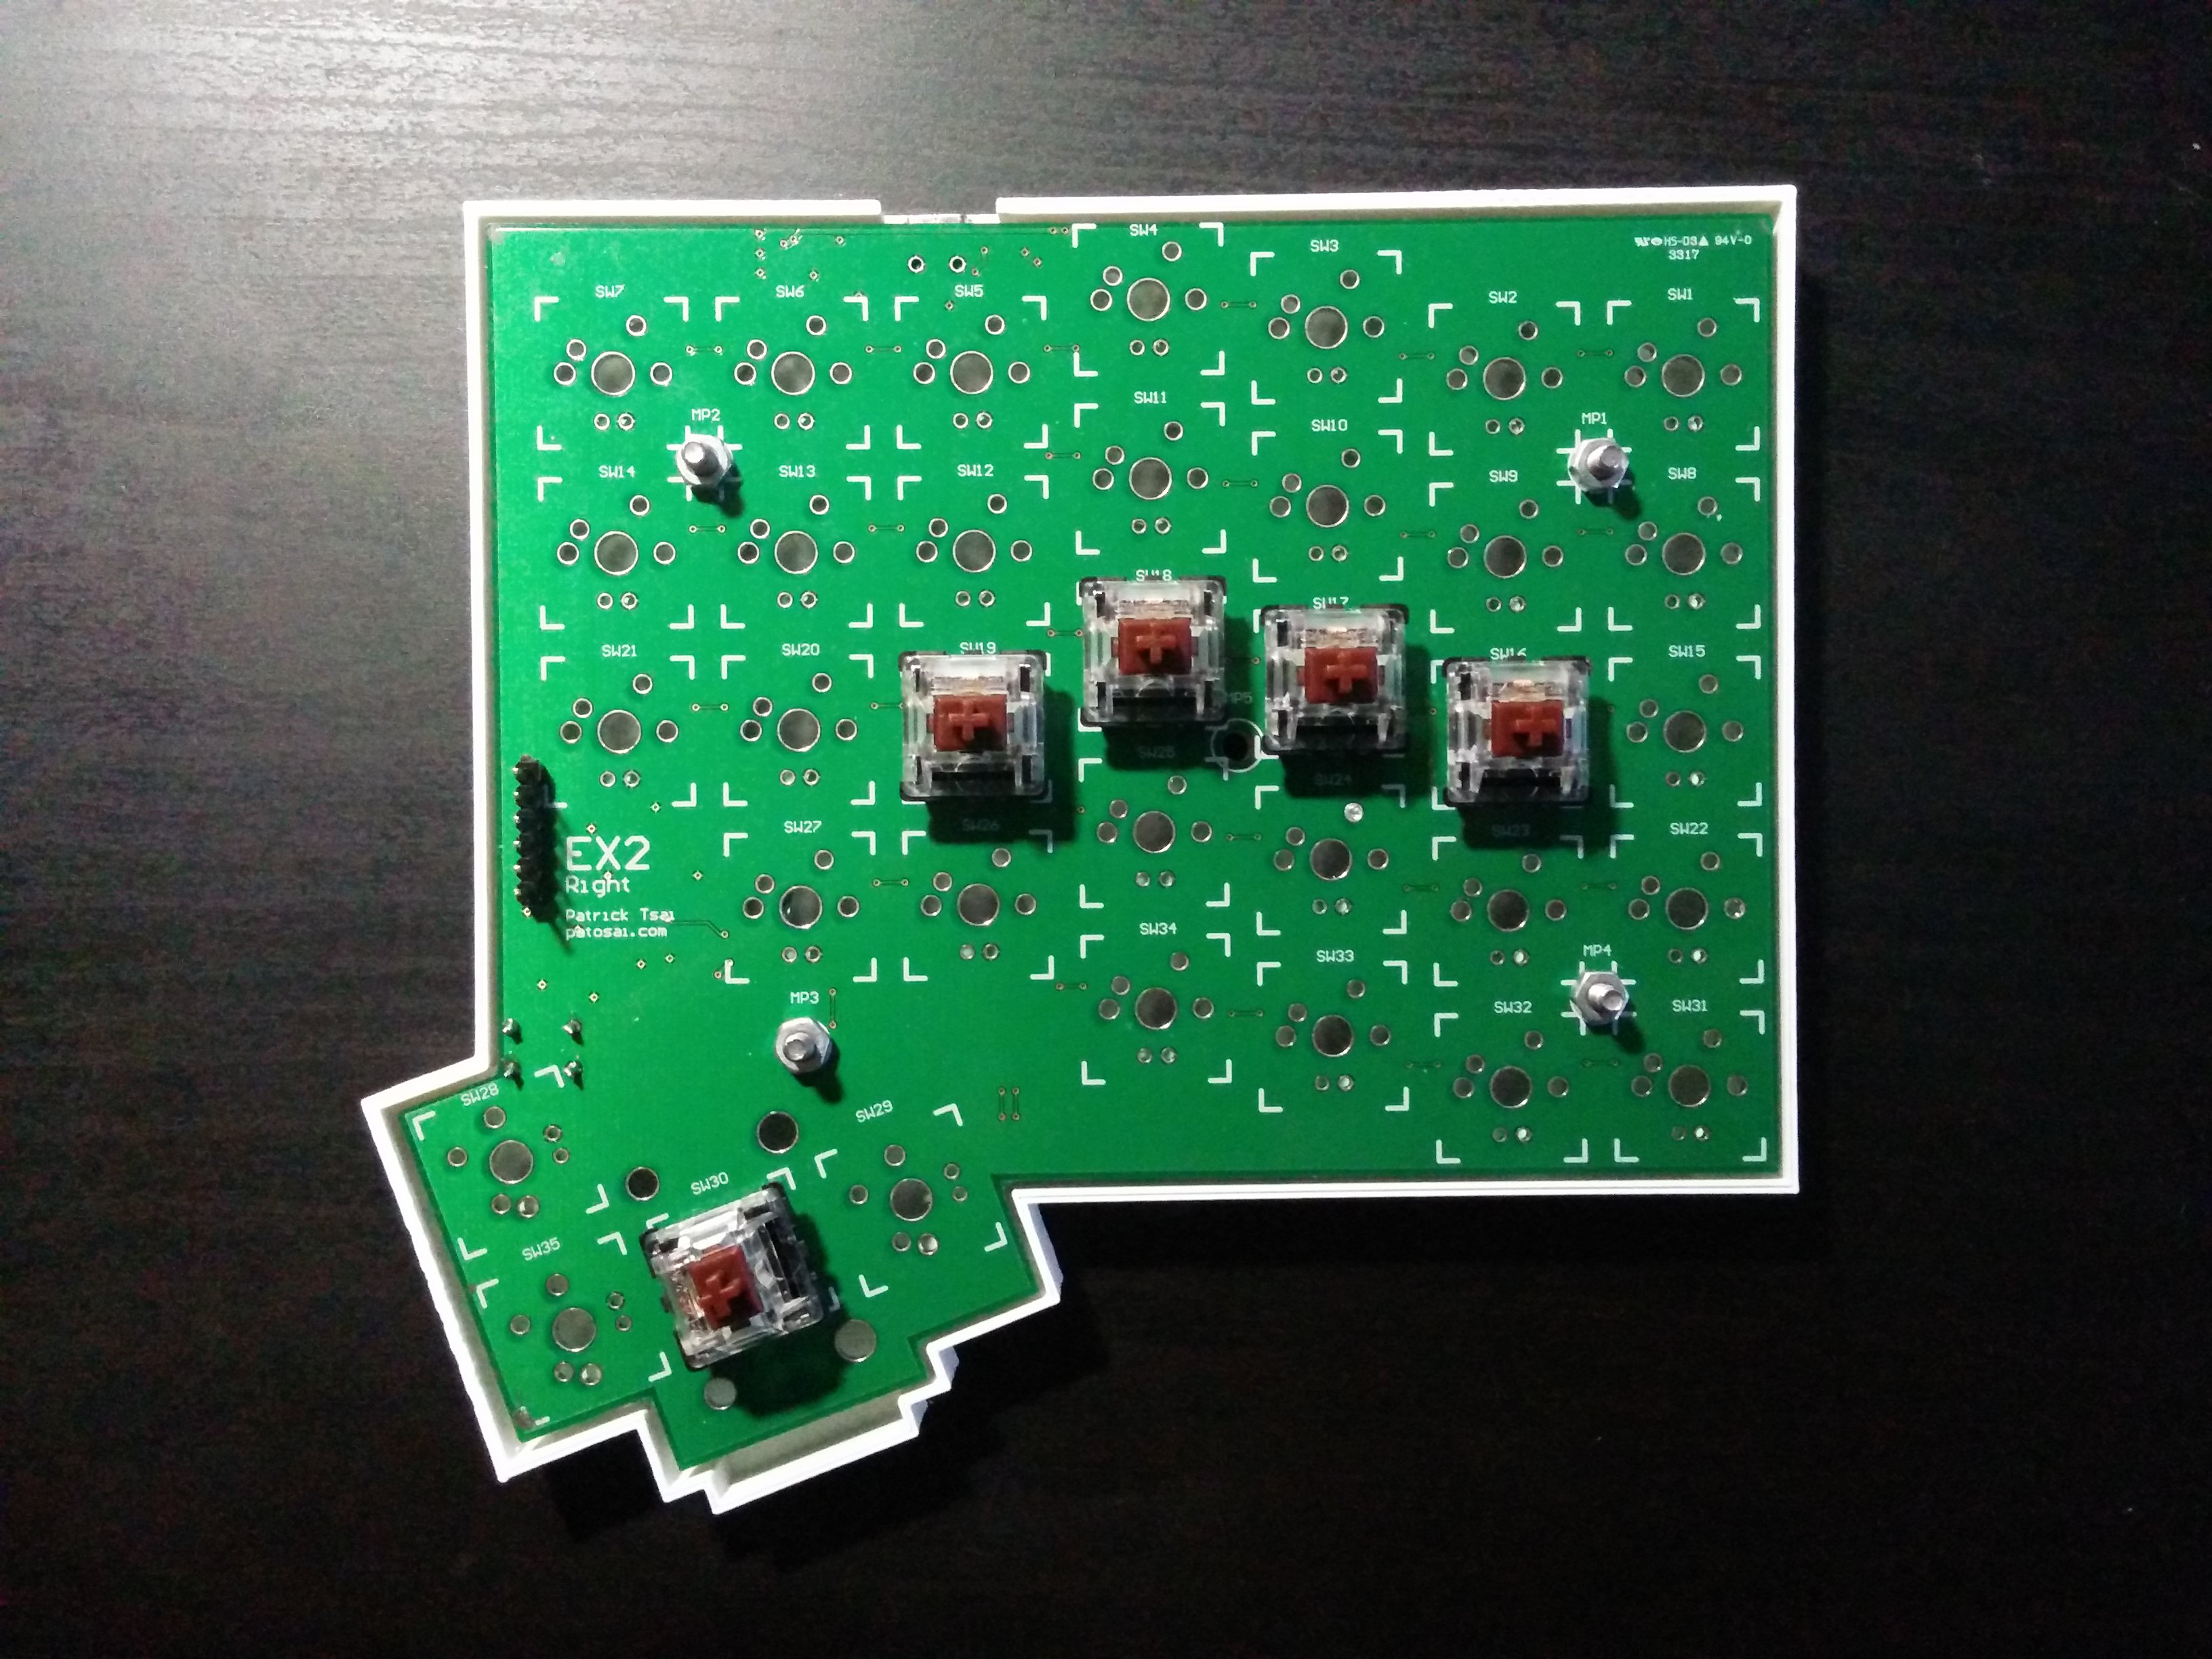
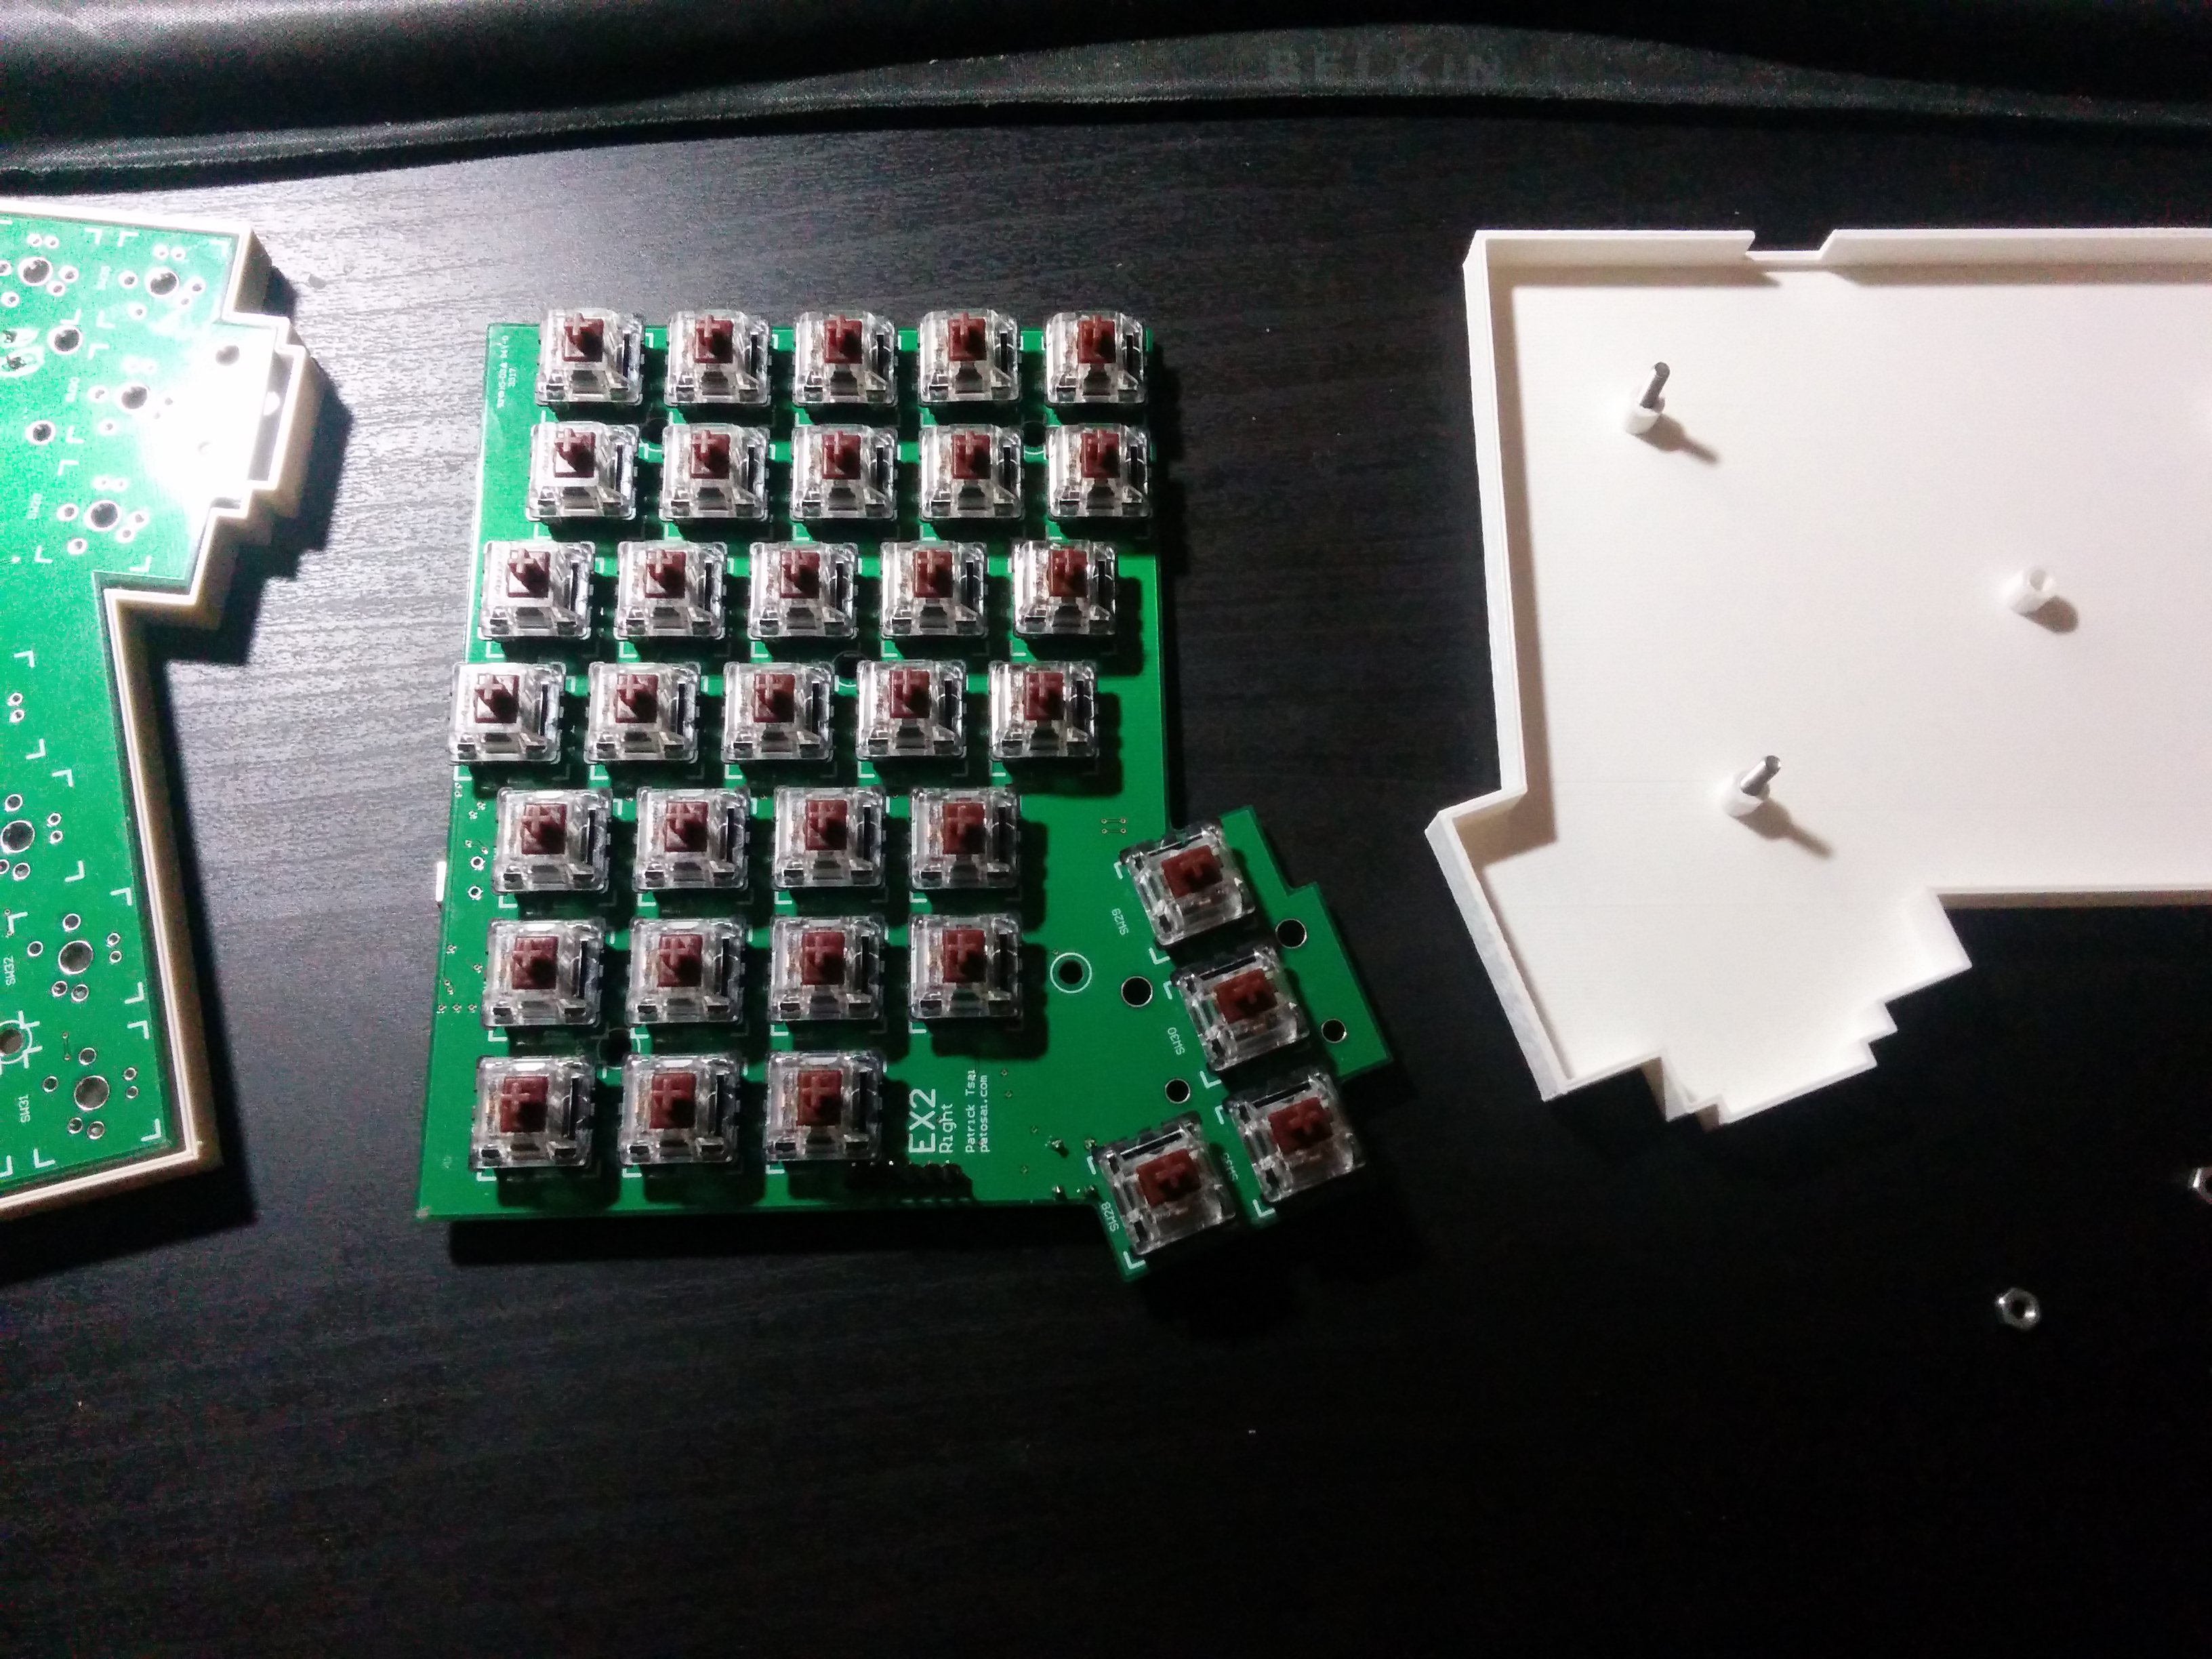
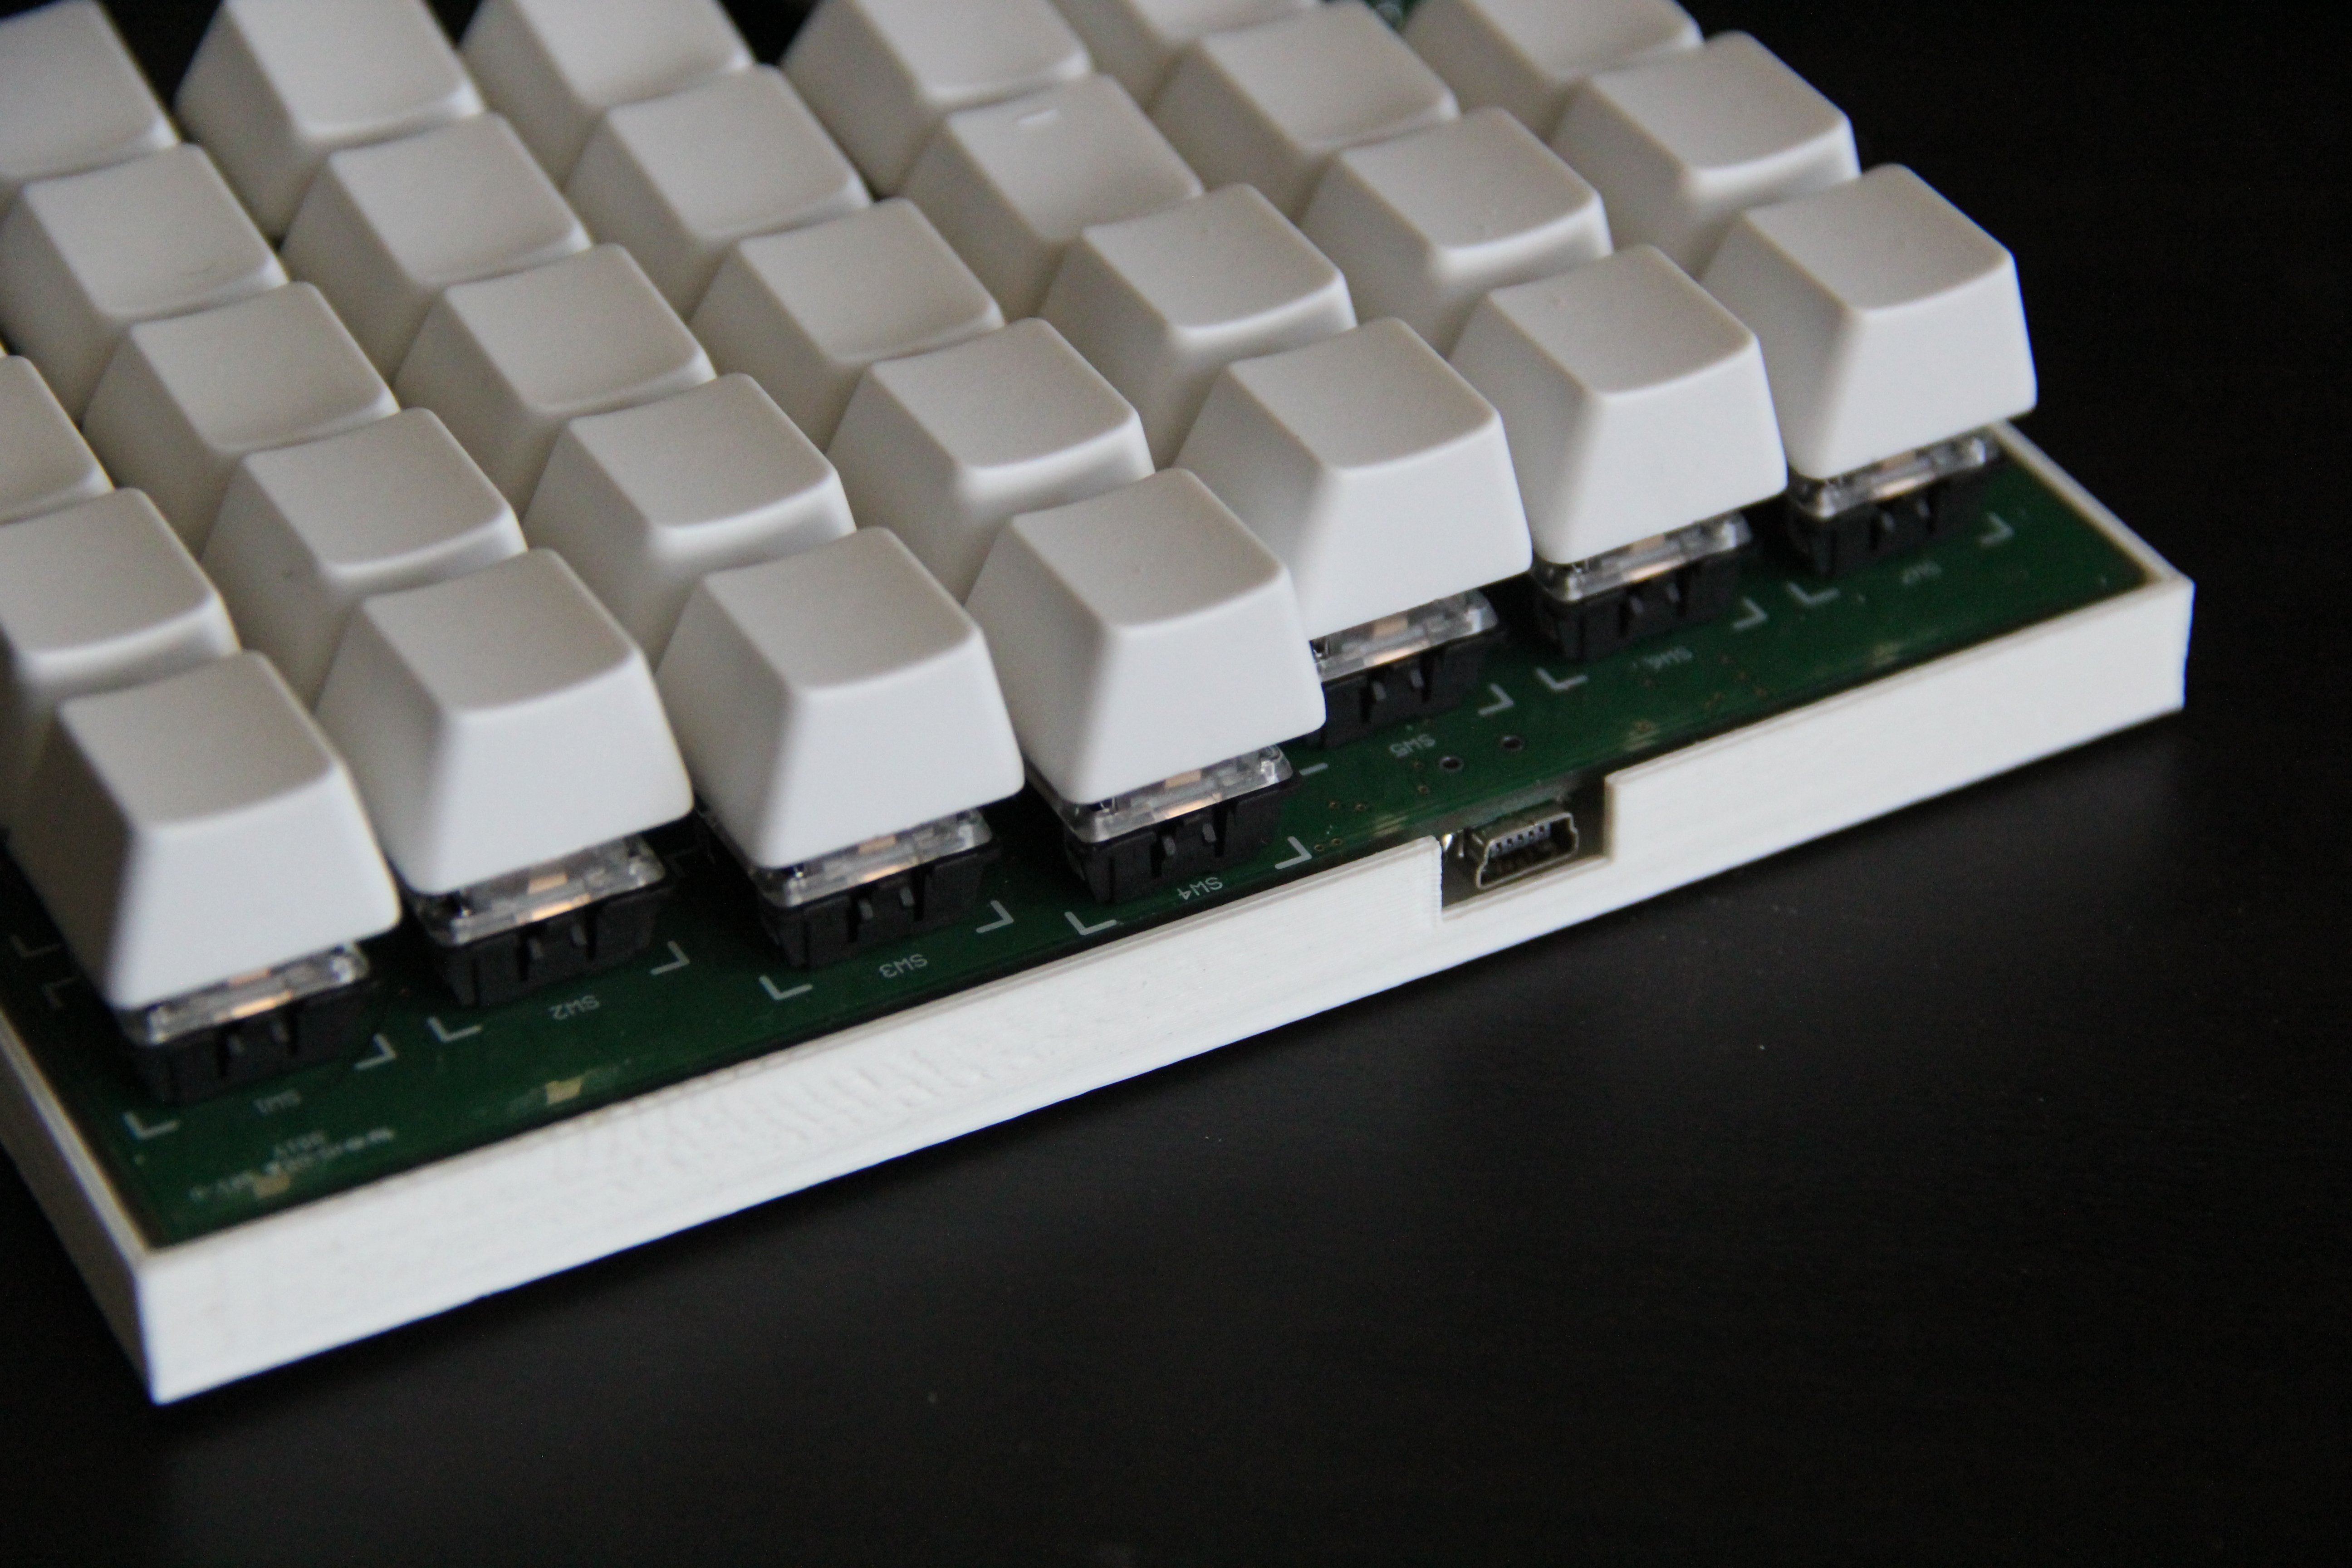
I decided to leave the top half of the case off since I thought it would the keyboard too thick. Now, the shots of the completed prototype.